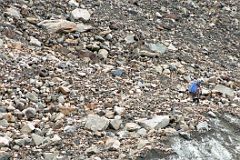
 01 Trekking From Khoburtse To Goro II |
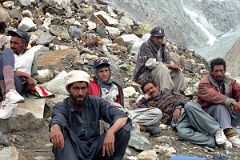 02 Taking A break On The Trek From Khoburtse To Goro II - Sirdar Ali Naqi, Porter, Muhammad Siddiq, Muhammad Khan, Syed, Hayder Khan |
 03 Taking A break On The Trek From Khoburtse To Goro II - Sirdar Ali Naqi, Porter, Syed, Hayder Khan, Muhammad Khan, Muhammad Siddiq |
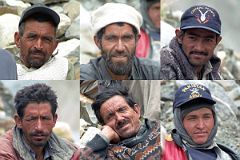
 04 Guide Iqbal and cook Ali On The Trek From Khoburtse To Goro II |
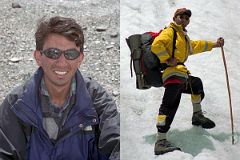
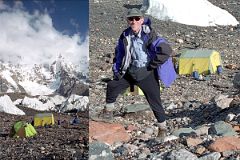
 05 Jerome Ryan With Large Rock Resting Precariously On Ice Pedestal |
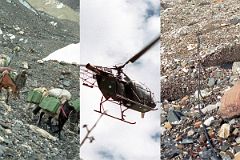 06 Pakistani Army - Horses Carry Army Supplies, Army Helicopter, Army Wire Snakes Along Baltoro Glacier |
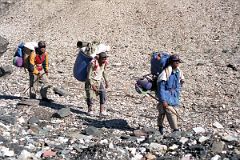
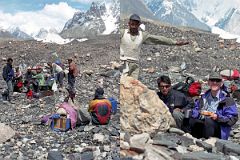 07 Having Lunch On The Trek From Khoburtse To Goro II |
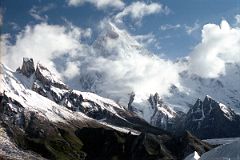
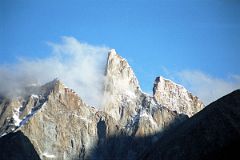
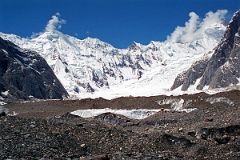
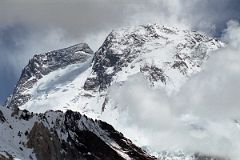
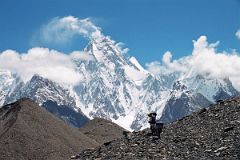
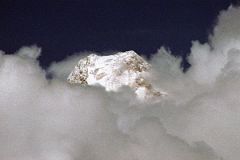 08 Gasherbrum IV Summit Pokes Out Of Clouds On Trek From Khoburtse To Goro II |
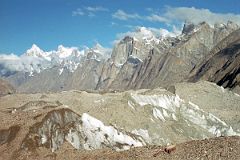
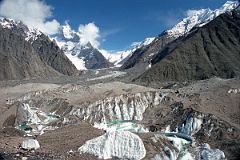
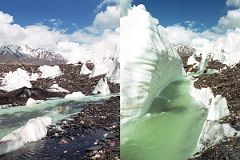 09 Small Glacier River Flows Next To Ice Mounds On Baltoro Glacier Between Khoburtse And Goro II |
 10 Jerome Ryan And Goro II Camp On Baltoro Glacier |
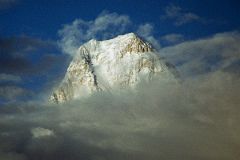
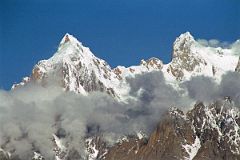
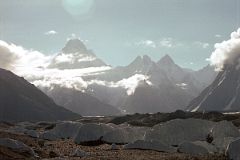
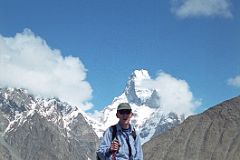
 11 Masherbrum Coming Out Of The Late Afternoon Clouds From Goro II |
 12 Masherbrum Shines In Late Afternoon Sun From Goro II |
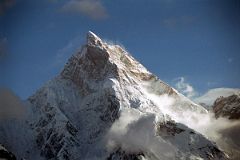
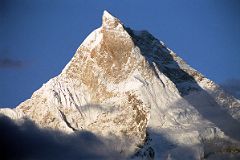
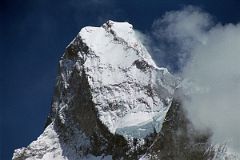
 13 Masherbrum Close Up In Late Afternoon Sun From Goro II |
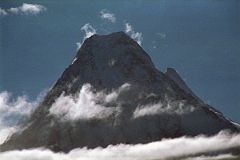
 14 Gasherbrum IV Summit Peaks Out Of Clouds At Sunset From Goro II |
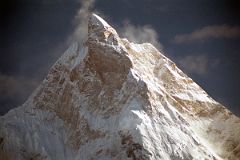
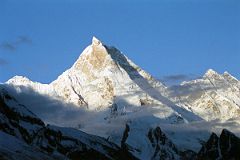
 15 Masherbrum Close Up At Sunrise From Goro II |
 16 Masherbrum Just After Sunrise From Goro II |
 17 Yermanendu Kangri, Masherbrum, Mandu Peak Just After Sunrise From Goro II |
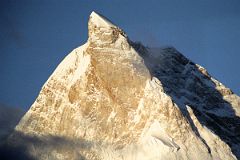
 18 Masherbrum Close Up Early Morning From Goro II |
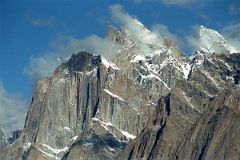
 19 Paiju Peak, Choricho, Uli Biaho, Trango Towers, Cathedral, Lobsang Spire From Goro II Early Morning |
 20 Paiju Peak And Choricho From Goro II Early Morning |
 21 Cathedral From Goro II |
 22 Lobsang Spire Close Up From Goro II |
 23 Gasherbrum IV, Gasherbrum II, Gasherbrum VII, Gasherbrum Twins, Gasherbrum V and Gasherbrum VI From Goro II |
 24 Gasherbrum IV and Gasherbrum II Close Up From Goro II Early Morning |
 25 Porter Muhammad Siddiq, Sirdar Ali Naqi, and Porter Syed On Trail From Goro II to Concordia |
 26 Looking Up Younghusband Biango Glacier To Muztagh Tower From Baltoro Glacier |
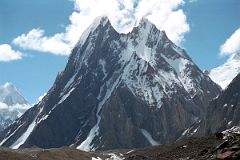
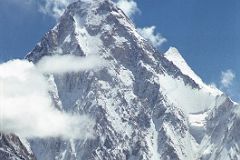
 27 Muztagh Tower From Baltoro Glacier On Trek From Goro II to Concordia |
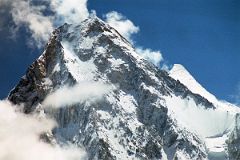
 28 Muztagh Tower Summit Area Close Up From Baltoro Glacier On Trek From Goro II to Concordia |
 29 Jerome Ryan Trekking On Baltoro Glacier From Goro II to Concordia With Muztagh Tower Behind |
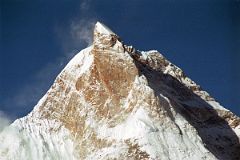
 30 Mitre Peak With Gasherbrum VI Behind From Baltoro Glacier Between Goro II and Concordia |
 31 Biarchedi Glacier Up To Ghandogoro Ri From Baltoro Glacier Between Goro II and Concordia |
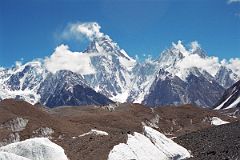
 32 Gasherbrum IV From Baltoro Glacier Between Goro II and Concordia |
 33 Gasherbrum IV And Gasherbrum II Close Up From Baltoro Glacier Between Goro II and Concordia |
 34 Gasherbrum IV, Gasherbrum VII, Gasherbrum Twins, Gasherbrum V From Baltoro Glacier Between Goro II and Concordia |
 35 Broad Peak Central And Main Summits From Baltoro Glacier Between Goro II and Concordia |
 36 Porters Nearing Concordia With Gasherbrum IV Towering Overhead |